
Yeah, it's DONE!
And I am happy with it LOVE it!
(Is that ok to say?)
A month or so ago I scored this dresser for free on Freecycle. I heart Freecycle. I've gotten a girls bike, princess DVDs, a skateboard, a phone, and now a dresser all for free.
Originally the dresser was going to go in my son's room. He currently has no dresser. Silly me thought the drawers under the bed would work long term as clothing storage....but what used to fit 10 pair of size 18 month pants, now fits 4 pair of size 6.
With Legos spilling out from every nook and cranny, DH's clothes in half his closet, and a full-size locker (thanks Santa) in his bedroom, my son's clothing storage space is grim. I dread putting away clean laundry (a great excuse not to do the laundry, huh!) Anyways, this dresser was supposed to go to him but then when I got it home I decided it was a little to girly with its curved base, to go in my son's Star Wars/Surfing/Lego "themed" room. (We'll work on that later.)
And seriously, what girl couldn't use more dresser space? When you share your dresser with your sister, change outfits on the hour, and can't reach your closet clothes, another dresser comes in super handy.
Ok, so enough about that. Here's the BEFORE:
 |
| Not bad for *free* |
First I sanded it down to bare wood (I love my electric sander- a present from DH- is that like giving an iron? NO!! I love it!).
It sat in my garage for a few weeks like this. Finally I got the motivation to start painting. The girls and I put on our painting clothes and got to work. We put a tarp down in the driveway, gathered all of our tools:
tarp
paint brushes
high quality foam rollers
roller handles
paint trays
white paint (left over from dresser I had painted for them previously)
stir sticks
paint can opener (I don't have to use a screwdriver, I found it!)
electric sander
sand paper
primer
......PRIMER.........where's the white primer?
ANY WHITE PRIMER.
We've painted so many things white in our house, we must have 3 left over cans of white primer.
ANY WHITE PRIMER.
We've painted so many things white in our house, we must have 3 left over cans of white primer.
No. Nope. No white primer, anywhere. A garage full of junk things we might need one day, and no white primer.
So back into the garage goes EVERYTHING and off we head to the paint store for primer.
Home again, primer in hand and we're ready to go!

Painted one THIN coat of primer. If there was one thing I learned from painting my kitchen cabinets, it's that you need to go super thin on the coats of paint...and sand between coats. So that was step 2 after it dried: sand with 220 grit sand paper.
Now it's on to the real paint. I am using Benjamin Moore's "White Dove". That's the color of the wainscoting we put in their room and also the color of a dresser I bought and paid to have painted.

Before I slid the drawers back in, I rubbed some wax along the tongue and groove glide rails.

Ok, without FURTHER adieu, the AFTER:


First step is to remove the old hardware and fill the holes. Should have done this before leaving for the paint store so the filler had time to dry and was ready to sand when I got home, but I didn't think that far in advance.
 |
| My helpers hard at work. |
 |
| Primed. |
I used a brush for all the corners and beveled edges and a super smooth, high quality foam roller for the flat surfaces. I did 2 coats of paint for most of it but 3 coats on a few drawers that I had to re-fill and sand down the old hardware holes a little better. I sanded between each coat with 220 paper.
Once I had the final coat of paint dry, I took the sander to it once again and distressed it a bit.
Going for a little bit of a "Shabby Chic" look.


Once I had the final coat of paint dry, I took the sander to it once again and distressed it a bit.
Going for a little bit of a "Shabby Chic" look.


And what shabby dresser is complete without glass knobs, of course!

I lined the drawers with fabric, attached with Mod Podge. If you've never used Mod Podge, you gotta try it. It's kinda like glue, it adheres paper together, and leaves a semi-gloss finish.
Before I slid the drawers back in, I rubbed some wax along the tongue and groove glide rails.
Ok, without FURTHER adieu, the AFTER:


I must have taken 50 pictures of this dresser and never got one I was *thrilled* with. Not sure if it's cause the dresser is so white and the room so bright that the camera had trouble? But it just never got quite perfectly focused and looking perfect. Hope you get a good jist of it!

Ok, so with the new dresser moving in, we needed to do a little clothes organizing. We had 4 sizes of clothing in this bedroom, times 2! We went though all of the clothes in our current rotation, as well as all of the boxes of hand-me-downs to pick out what fits next. The girls got a kick out of this.
They played dress-up all afternoon, trying on clothes that they had never seen before. It was a big shopping spree in their bedroom (thank goodness for hand-me-downs!) They also put up a few fights for clothes that were a bit on the small side...but I had to draw the line at the 9 month old Cal Bears shirt they were begging to hold on to (Go Bears!)
Organizing:

Funny how the mess has to get really bad before it gets better.

Another problem with our clothes storage is the fact that my girls cannot reach any of their hanging clothes. This either results in them yanking a dress down, subsequently breaking the hanger...or hollering to me when they need something (which is often considering the number of outfit changes they each make per day hour). Here's a simple fix:
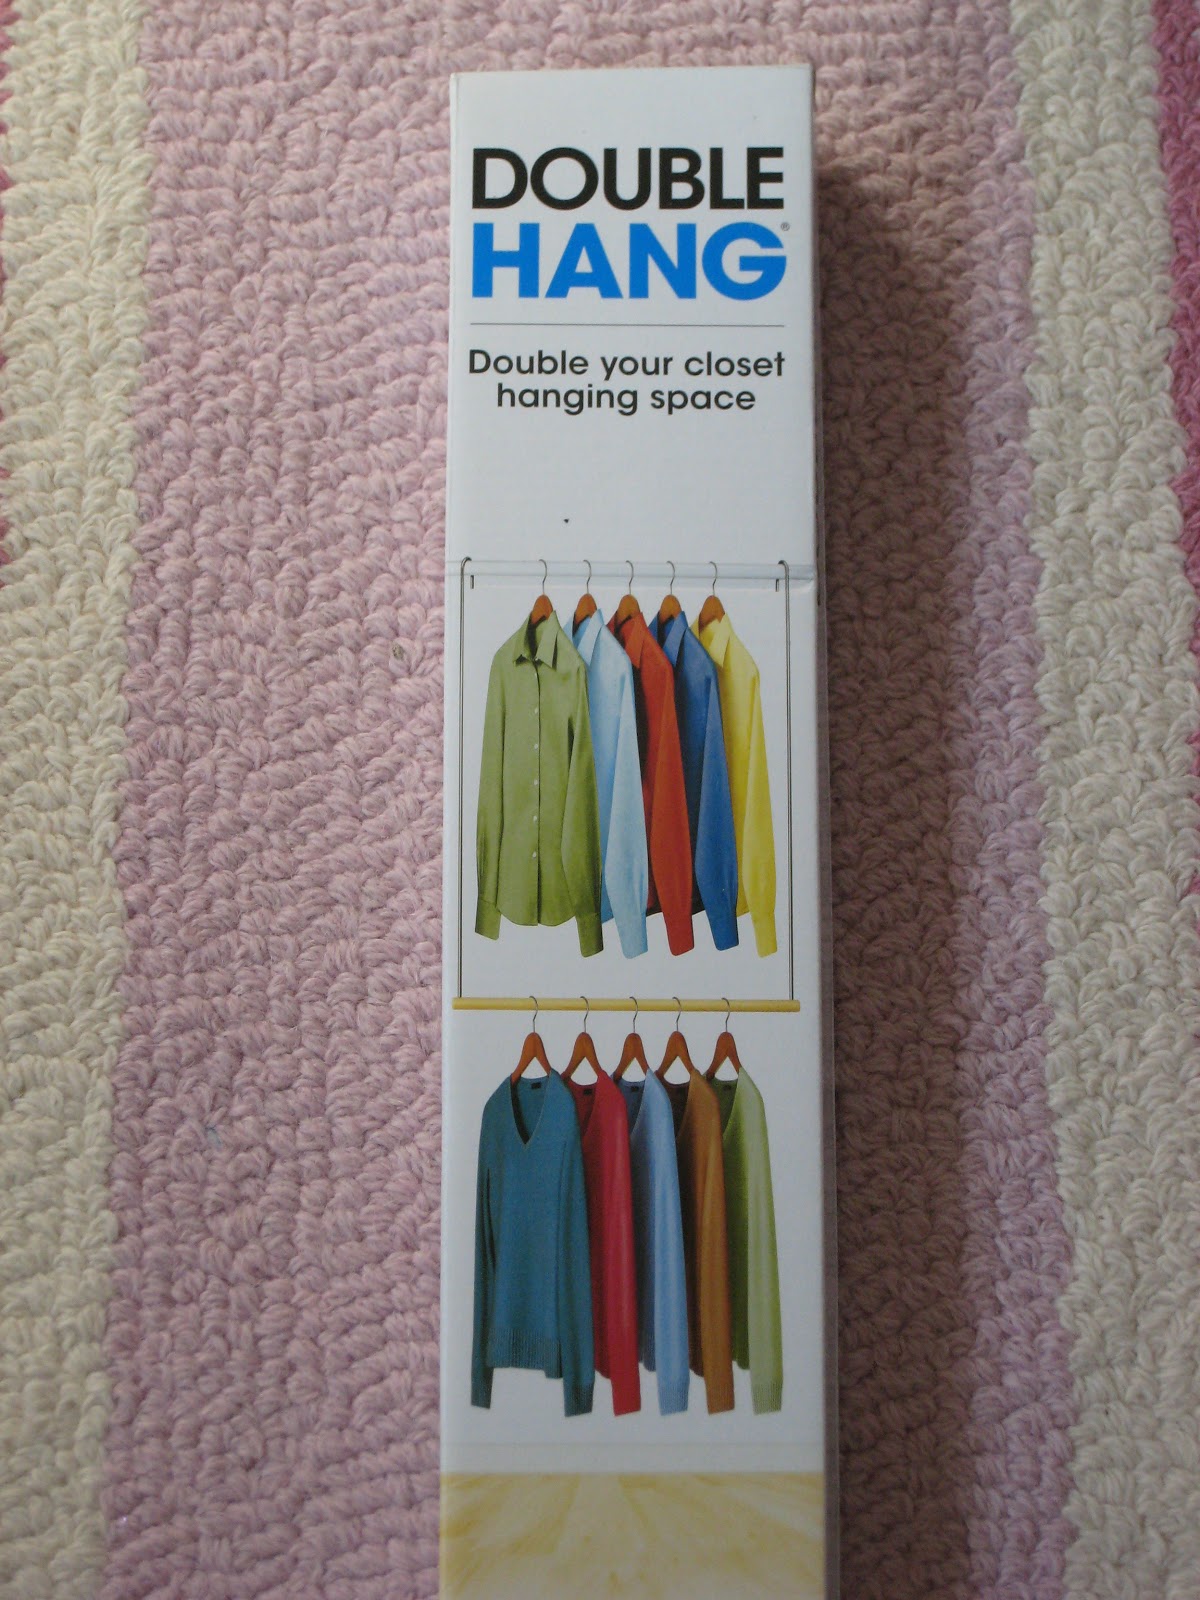
Just $9.99 at The Container Store.

And finally we were ready to move the dresser in to its new home and fill -er up.

From this:
To This:
I'd say that's a big improvement.
$27 paint +6 foam roller + $10 double hanging closet rod=
$43 closet-built-for-two
It looks SO cute in their VERY GIRLY Room! See their homemade Pottery Barn bedding HERE!

Just a quick peek at the dresser I was trying to match. I bought this (used) dresser, which was refinished/painted at the store, last year for $300. I'm super happy with my *free* version!
I'll give you a little tour of the girls' bedroom soon. Complete with wainscoting, a chandelier and everything GIRLY!


Sweetness
And check out my boy's dresser that I refinished:


Great redo!!! I'm about to paint end tables in the master bedroom. Love seeing inspiring before and after shots.
ReplyDeleteWhere did you find the glass knobs? I am having a hard time.
ReplyDeleteHi Michelle....great question! I got the knobs from an on line store called Look In The Attic: http://www.lookintheattic.com/gk114cl.html
ReplyDeletethey have 1", 1.25" and 1.5" knobs that all look exactly the same, the classic hexagon clear glass that I used on this dresser. Thanks for asking!
LOVE the chest of drawers! Just beautiful. Yours turned out great. I am working on one now that is NOT working. I did not prime just sanded. GEEE....learn the hard way. I do not have a garage to do the work. Plus, I have cats that feel the need to HELP. Please no more painted paw prints!
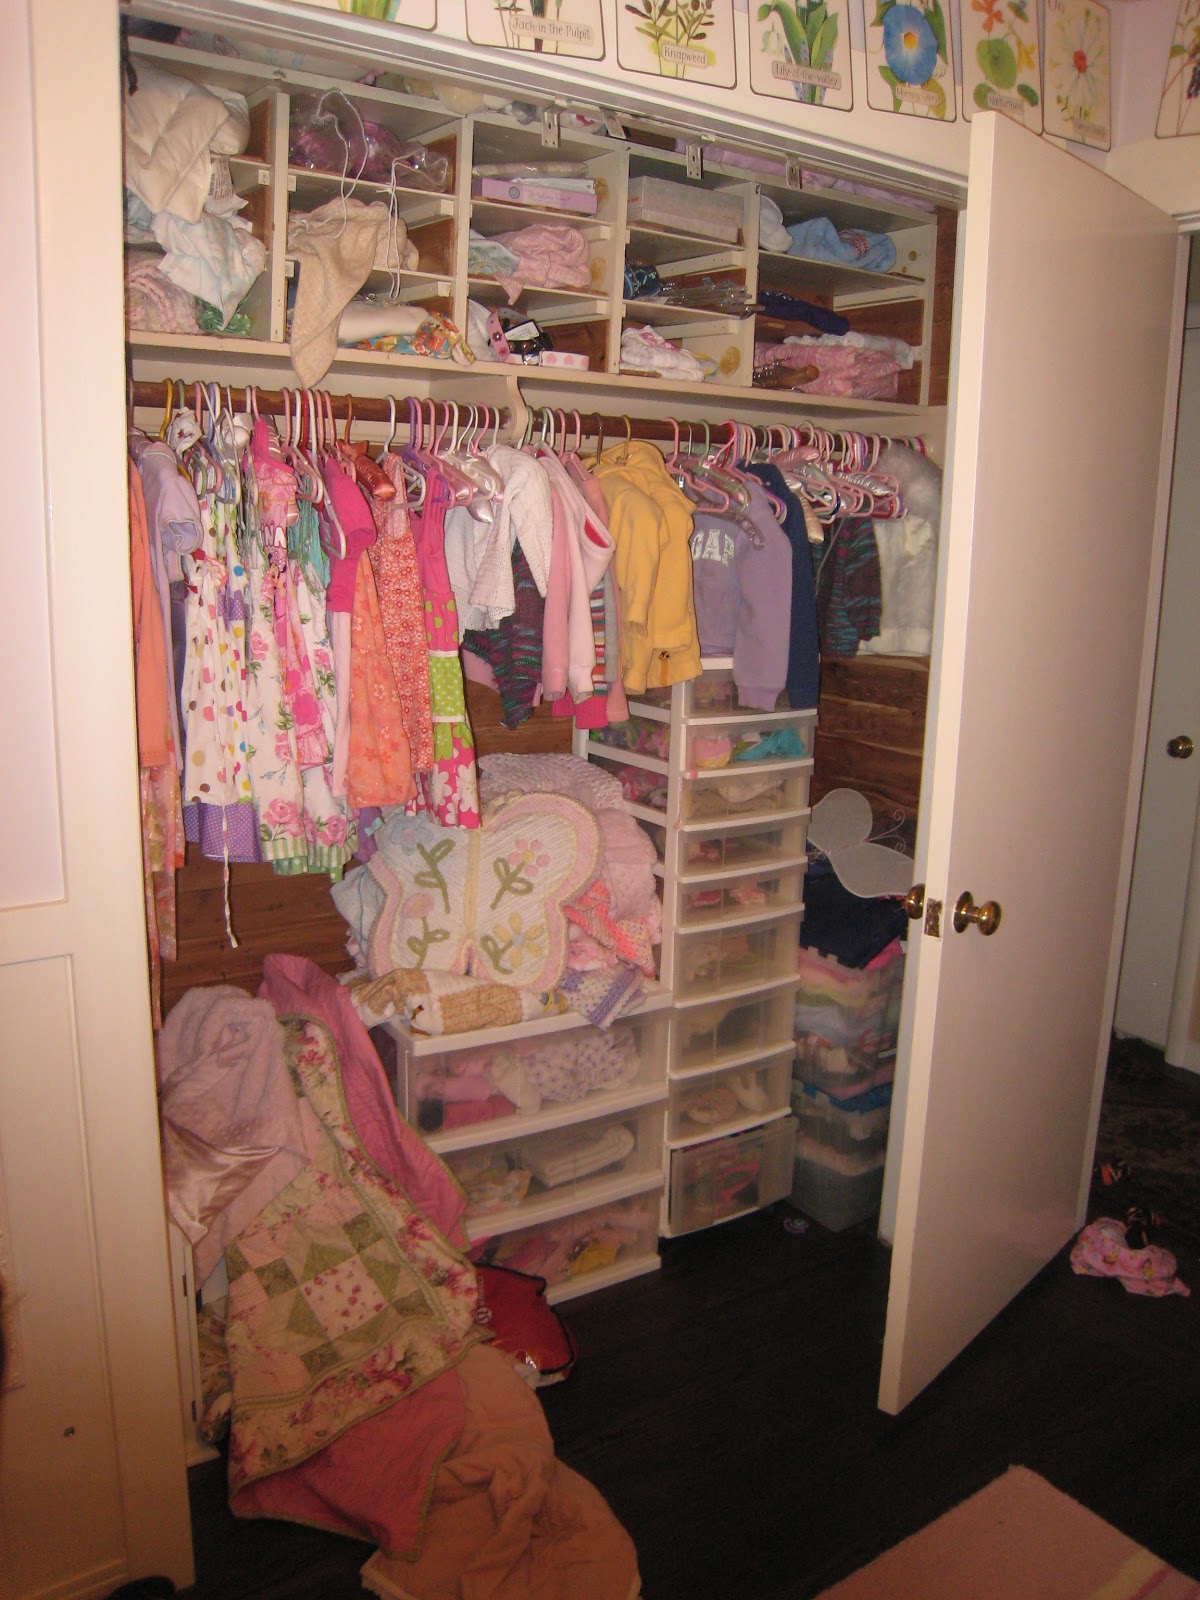
ReplyDeleteDid you make the storage units in the top of the girls closet? That is awesome. Maybe you can share that. I am soooo limited on space.
Thanks so much!