Thursday, November 11, 2010

And the dresser paint color is...

OK, don't laugh. 
Promise?

So remember I said I was originally thinking of painting the dresser navy like the ones from PB Kids?  But thought that is so boring. And then I decided to be creative and try something different and new.  I was going to do a glaze...maybe a brown base and gray glaze; or a gray base and brown glaze. 


Then my son talked me into a blue base with darker  blue glaze after seeing a sample in the
"StriĆ© brochure".  Well, maybe we'll do a gray with a blue glaze...or blue with gray glaze.


And then I got to the paint store and chickened out. 
I decided to go with a navy blue (like the Pottery Barn Kids dresser I said I didn't want to copy) but I'd spice it up a bit with some gray accents on the raised detail work.  Here's the funniest part, I ended up not only with navy, but a navy from the
PB Kids Benjamin Moore Paint Collection!  Well, you know, I don't believe in recreating the wheel.  I love PB's style so why wouldn't I love their paint choices?  I picked
Benjamin Moore's Kensington Blue for the base color and
BM Edgecomb Gray (from a previous Pottery Barn collection as well!) 

BM HC-173 edgecomb gray

BM 840 kensington blue

I thought I'd try a foam brush this time, hoping to get less of the "refrigerator" look that the foam roller leaves (do you know what I'm talking about? That pock mark look? Kinda like a colored refrigerator.)

I have these nice new brushes DH bought me after forgetting to rinse my favorite Purdy brushes out one too many times.

But alas, I STILL use those old Purdy brushes over everything else...and this time, same story.
I didn't care for the foam brush and in fact, decided
I don't like the foam roller either.

I like a high quality brush and a steady hand to get straight line strokes.

Purdy is da best, worth every penny, years old with caked-on paint. 

After painting my girls' dresser with a foam roller, I decided I prefer the brushstroke look to the bumpy refrigerator look. 

I sanded the dresser pretty well. Wanted to get all the old shiny finish off and down to bare wood. I like to start with a super smooth surface cause your finished surface will never be better than that of your starting surface.

I removed the old knobs, filled the holes with wood putty and sanded when dry.

Ready for the primer coat.
Did you know it's ok to use a white primer
even if you plan to paint a dark color? It is.  Yay, I already have white primer. No need to race out to the paint store.

After the primer dried, I sanded with 220 grit sand paper and my electric sander.

Now ready for the first coat of Kinsington Blue!  I had a few neighbors around while I was working and I felt I was on one of those HGTV shows as I popped the paint can lid off and
revealed the color!

You might notice there are some white spots on the drawer fronts and on the top as well.  Those places are going to be the Edgecomb Gray.  Hopefully I get a picture of the finished dresser in better light (and not against the blue tarp!)

Since I had my painting clothes on and a wet white primer brush and roller...I figured I'd hop on into the master bath and give the wainscoting a primer coat.

While trying to paint behind the toilet, trying to ignore the fact that it's probably overdue for a cleaning, my brush slipped a few times and gave me a CRAZY idea.  The toilet is the only thing we didn't replace in the remodel.  Money is tight and the toilet is a Toto.
But it's almond, not white. I really want a white toilet. But when my brush hit the toilet a few times, quite by accident, I realized,
I COULD PAINT THE TOILET WHITE! 
Have you ever done that?
Is it possible?
Am I CRAZY?


Monday, November 8, 2010

Sneak peek at 2 projects: wainscoting and another dresser

Well, some exciting news...
I picked up another free dresser today and this one is
PERFECT for my son's room. 
My dear friend (and talented designer) found this for me next to a dumpster, the poor thing! 
But she rescued it and now I'm giving it new life and a new home (sorry in advance for how rough my son will likely be on you, but you've been through a lot,
I know you can handle it!) 
My friend has an incredible sense of style and I love her taste.  She recently renovated her bathroom and is going to share it with us....tumbled travertine, Restoration Hardware fixtures, lots of white, it's beautiful!  Be on the look-out soon for lots of pics and juicy details.

OK, here we go!  This is my latest free find:

I just love how masculine it looks.  The lines on it are fabulous. 

One drawer has this built-in divider.

And a retro, old-school change tray in the top drawer, so classic, and again, so masculine.

What a find don'tcha think!


My son was so excited about it when he came home from school that we couldn't resist starting on it right away! 
I know there are so many paints out there now that claim you
don't need to sand before, but I'm skeptical and like to roughen it up a bit regardless.  Plus, then I can use no VOC paints and not have to think twice about coverage. 
Hummm, paint? 
I'm not sure how I'm going to paint it yet, actually.  I was originally thinking of your basic Pottery Barn Kids navy blue.  But then my friend suggested I try a 2-tone glaze, possibly brown/gray??  There's always black, too.  Oooooh, what about red?  My son asked to paint it blue and gold for Cal.  Ahhhh, DH is proud.  Go Bears!
But NO. 
I love Cal just as much as the next, well I love my hubby and I love Cal, let's leave it at that.  At any rate, I'm putting out the blood, sweat and tears, and I get to pick the color! 
 (But I might compromise with a removable Cal decal on the SIDE or perhaps some Star Wars Wallies from Pottery Barn Kids - all removable I might add!)

What color do you think is good for a boy's dresser?  Have you ever tried a glaze?
Leave me a comment!


Lookin' GOOD!    Ahhhhh, thanks J.K.!    Looking forward to seeing your bathroom.

Speaking of bathrooms....here's another preview of something we're working on.  Our "almost" finished master bathroom is a tad closer to finished after this weekend!  We are just about done with wainscoting.  Here's the before:

Stayed tuned for lots of pics of the after coming soon!

Sunday, November 7, 2010

My All-Purpose Green Spray Cleaner

My blog title suggests that I write about "Green Living" and I realized that while I try to live that way, I haven't dedicated much any of my blog to it at all.

I realized one reason for this is that one of my biggest "Green" philosophies is that
less is MORE
for a clean, non-toxic lifestyle.

I simply do not use many products!

One of my favorite "green" products is my all-purpose cleaner. 
I make it myself in a spray bottle.  It really shouldn't be call "All-Purpose" but rather
"Most-Purpose" as it should NOT be used on natural stone.
DON'T use this on marble, travertine, limestone, etc. 
You might get away with it on sealed granite, but I don't make any promises!
The reason being it contains vinegar which, in time, will etch your natural stone (eat away at it). 

So here ya go:

My ALL MOST PURPOSE green, non-toxic, food surface-safe cleaner.

Mix in a spray bottle:

1 cup distilled water
1 cup cheap white vinegar 
 2 TBS Rubbing Alcohol
1/8 tsp liquid Castille Soap
 Essential oils (optional)


Notes:
Vinegar: Kills most mold, bacteria and germs

Alcohol: cuts through dirt and grime (grease) and also disinfects...additionally it helps the product to dry quickly, resulting in less streaking

Castille Soap: Removes build-up of other cleaning products and just generally a great cleaner (but if you use too much, you'll need to rinse the surface with water, which is fine but I love a spray and wipe cleaner for most uses)

If you don't mind rinsing the surface with plain water, you can add more Castille Soap and also Baking Soda. Baking Soda is an excellent scrubbing product for really icky things, but does need to be rinsed or you're left with a white residue. It's NON-TOXIC of course, but not too attractive!


*Pure Castille Soap is mostly olive oil, pretty much the least toxic soap you can buy.  You can clean anything with this (laundry, dishes, your body/hair/teeth). I buy Dr. Brommer's on line by the gallon.

Do you have a favorite green cleaner, either homemade or purchased?  Please leave a comment with it! I'm always looking for ideas.
*This is a spray and wipe cleaner, no rinsing necessary.

*Sometimes I just use filtered water.

*Costco sells two 1-gal bottles of white vinegar for around $4.


*The final product has a pretty strong vinegar smell and to some is not pleasant...though it dissipates quickly. You can add essential oils to both improve the scent and also provide additional cleaning benefits. This time I used peppermint (it's strong properties do a great job of masking unpleasant smells and it's also a natural pest repellent) and tea tree oil (antifungal, antibacterial and germicidal) You can use anywhere from a few drops or 30-40 depending on how much the vinegar scent bothers you.


Saturday, November 6, 2010

A very PRETTY GIVEAWAY- Vintage Pearl Jewelry!

This weekend, I bring you a giveaway from one of my blogging friends, Kate at Centsationalgirl~ your chance to win some hand stamped silver jewelry from The Vintage Pearl. There will be two lucky winners of this weekend’s giveaway – each will receive a $75 dollar gift certificate to purchase something very special. Take a peek at this small sampling of these hand stamped sterling silver pieces available.


Just hop on over to Centsationalgirl to enter!
Giveaway ends Monday November 8th at 8 p.m. PST. Two winners will be chosen by Random.org.

Good Luck!
Remember to "fall back" tonight and
turn your clocks BACK one hour!


Thursday, November 4, 2010

"Shabby Chic" Dresser- The story of refinishing/painting a dresser

Yeah, it's DONE! 
And I am happy with it LOVE it! 
(Is that ok to say?)

A month or so ago I scored this dresser for free on Freecycle.  I heart Freecycle.  I've gotten a girls bike, princess DVDs, a skateboard, a phone, and now a dresser all for free.
 
Originally the dresser was going to go in my son's room.  He currently has no dresser.  Silly me thought the drawers under the bed would work long term as clothing storage....but what used to fit 10 pair of size 18 month pants, now fits 4 pair of size 6. 
 
With Legos spilling out from every nook and cranny, DH's clothes in half his closet, and a full-size locker (thanks Santa) in his bedroom, my son's clothing storage space is grim.  I dread putting away clean laundry (a great excuse not to do the laundry, huh!)  Anyways, this dresser was supposed to go to him but then when I got it home I decided it was a little to girly with its curved base, to go in my son's Star Wars/Surfing/Lego "themed" room.  (We'll work on that later.)
And seriously, what girl couldn't use more dresser space?  When you share your dresser with your sister, change outfits on the hour, and can't reach your closet clothes, another dresser comes in super handy.
 
Ok, so enough about that.  Here's the BEFORE:
Not bad for *free*
First I sanded it down to bare wood (I love my electric sander- a present from DH- is that like giving an iron?  NO!!  I love it!).
It sat in my garage for a few weeks like this.  Finally I got the motivation to start painting.  The girls and I put on our painting clothes and got to work.  We put a tarp down in the driveway, gathered all of our tools:

tarp
paint brushes
high quality foam rollers
roller handles
paint trays
white paint (left over from dresser I had painted for them previously)
stir sticks
paint can opener (I don't have to use a screwdriver, I found it!)
electric sander
sand paper
primer
......PRIMER.........where's the white primer? 
 ANY WHITE PRIMER. 
We've painted so many things white in our house, we must have 3 left over cans of white primer. 
No.  Nope. No white primer, anywhere.  A garage full of junk things we might need one day, and no white primer. 
So back into the garage goes EVERYTHING and off we head to the paint store for primer. 
Home again, primer in hand and we're ready to go!

First step is to remove the old hardware and fill the holes.  Should have done this before leaving for the paint store so the filler had time to dry and was ready to sand when I got home, but I didn't think that far in advance. 

My helpers hard at work.
Painted one THIN coat of primer.  If there was one thing I learned from painting my kitchen cabinets, it's that you need to go super thin on the coats of paint...and sand between coats.  So that was step 2 after it dried: sand with 220 grit sand paper. 

Primed.
Now it's on to the real paint.  I am using Benjamin Moore's "White Dove".  That's the color of the wainscoting we put in their room and also the color of a dresser I bought and paid to have painted. 

I used a brush for all the corners and beveled edges and a super smooth, high quality foam roller for the flat surfaces.  I did 2 coats of paint for most of it but 3 coats on a few drawers that I had to re-fill and sand down the old hardware holes a little better.  I sanded between each coat with 220 paper. 
Once I had the final coat of paint dry, I took the sander to it once again and distressed it a bit.
Going for a little bit of a "Shabby Chic" look.
 
And what shabby dresser is complete without glass knobs, of course!
I lined the drawers with fabric, attached with Mod Podge.  If you've never used Mod Podge, you gotta try it.  It's kinda like glue, it adheres paper together, and leaves a semi-gloss finish.


Before I slid the drawers back in, I rubbed some wax along the tongue and groove glide rails.

Ok, without FURTHER adieu, the AFTER:

I must have taken 50 pictures of this dresser and never got one I was *thrilled* with. Not sure if it's cause the dresser is so white and the room so bright that the camera had trouble?  But it just never got quite perfectly focused and looking perfect. Hope you get a good jist of it!
 
Ok, so with the new dresser moving in, we needed to do a little clothes organizing. We had 4 sizes of clothing in this bedroom, times 2!  We went though all of the clothes in our current rotation, as well as all of the boxes of hand-me-downs to pick out what fits next.  The girls got a kick out of this. 
They played dress-up all afternoon, trying on clothes that they had never seen before.  It was a big shopping spree in their bedroom (thank goodness for hand-me-downs!)  They also put up a few fights for clothes that were a bit on the small side...but I had to draw the line at the 9 month old Cal Bears shirt they were begging to hold on to (Go Bears!)
 
Organizing:
Funny how the mess has to get really bad before it gets better.
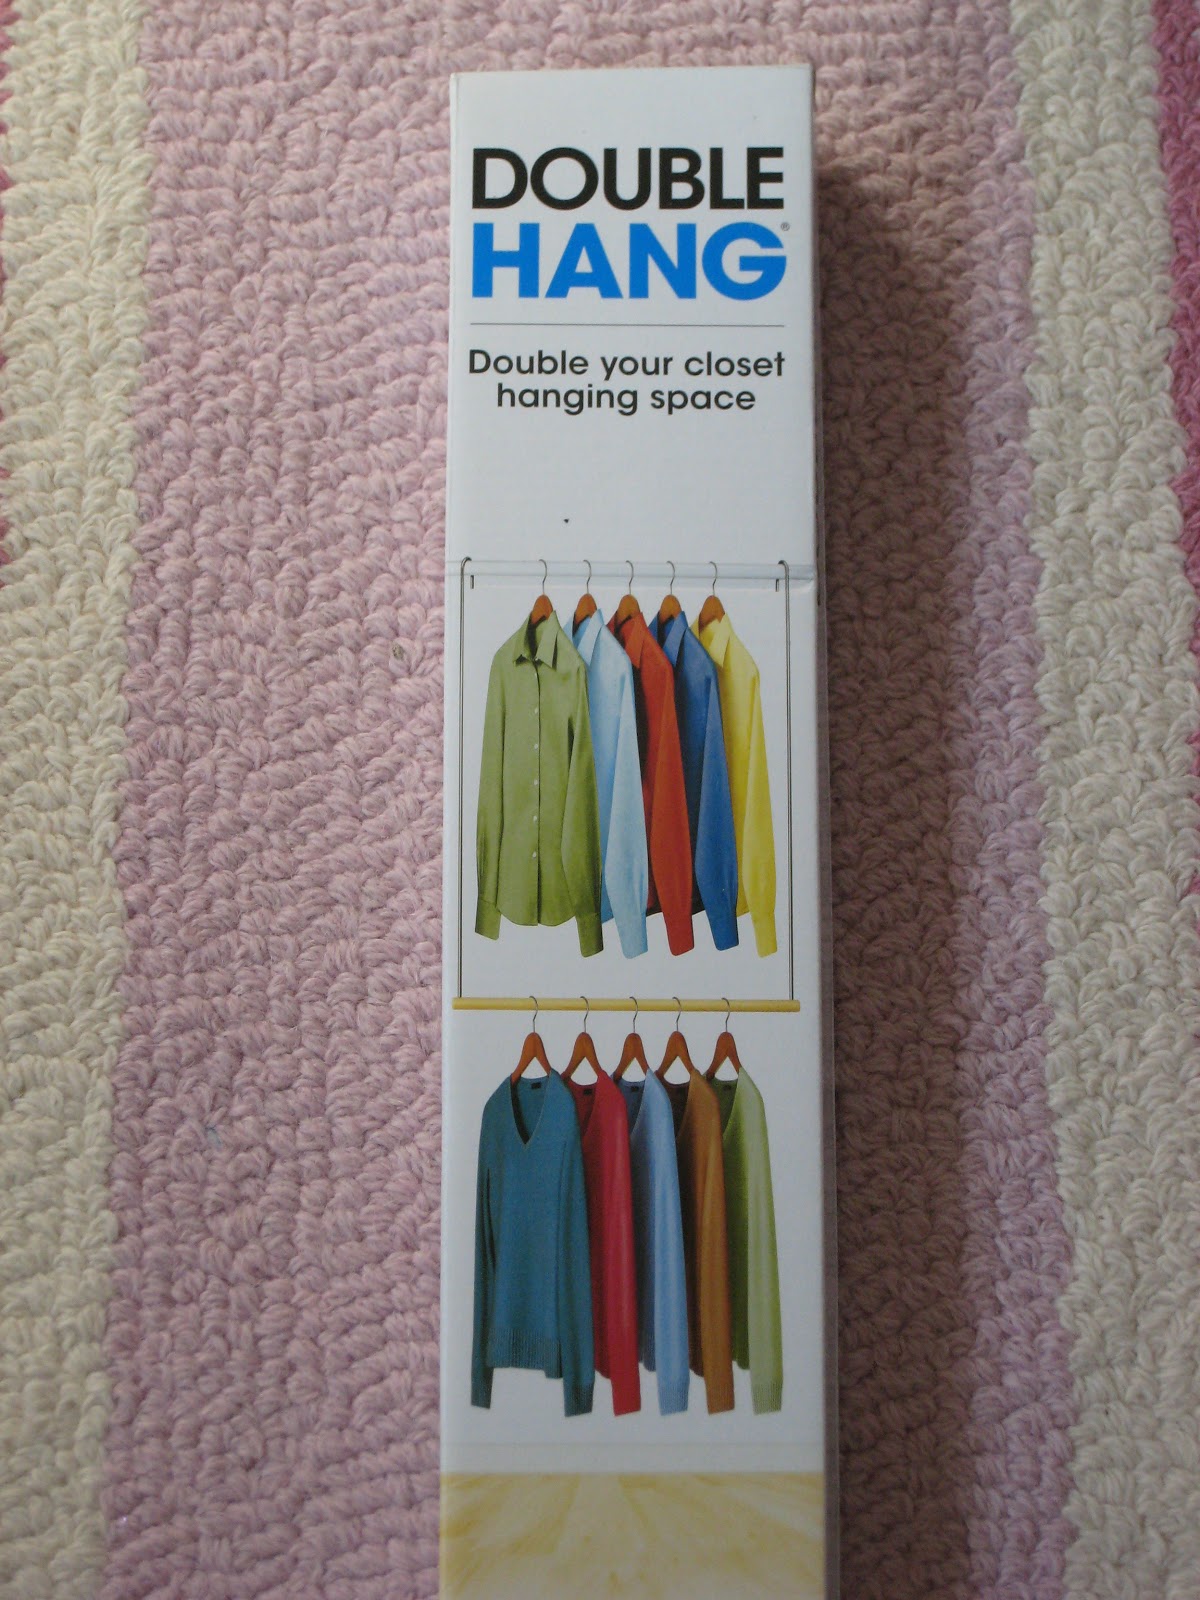
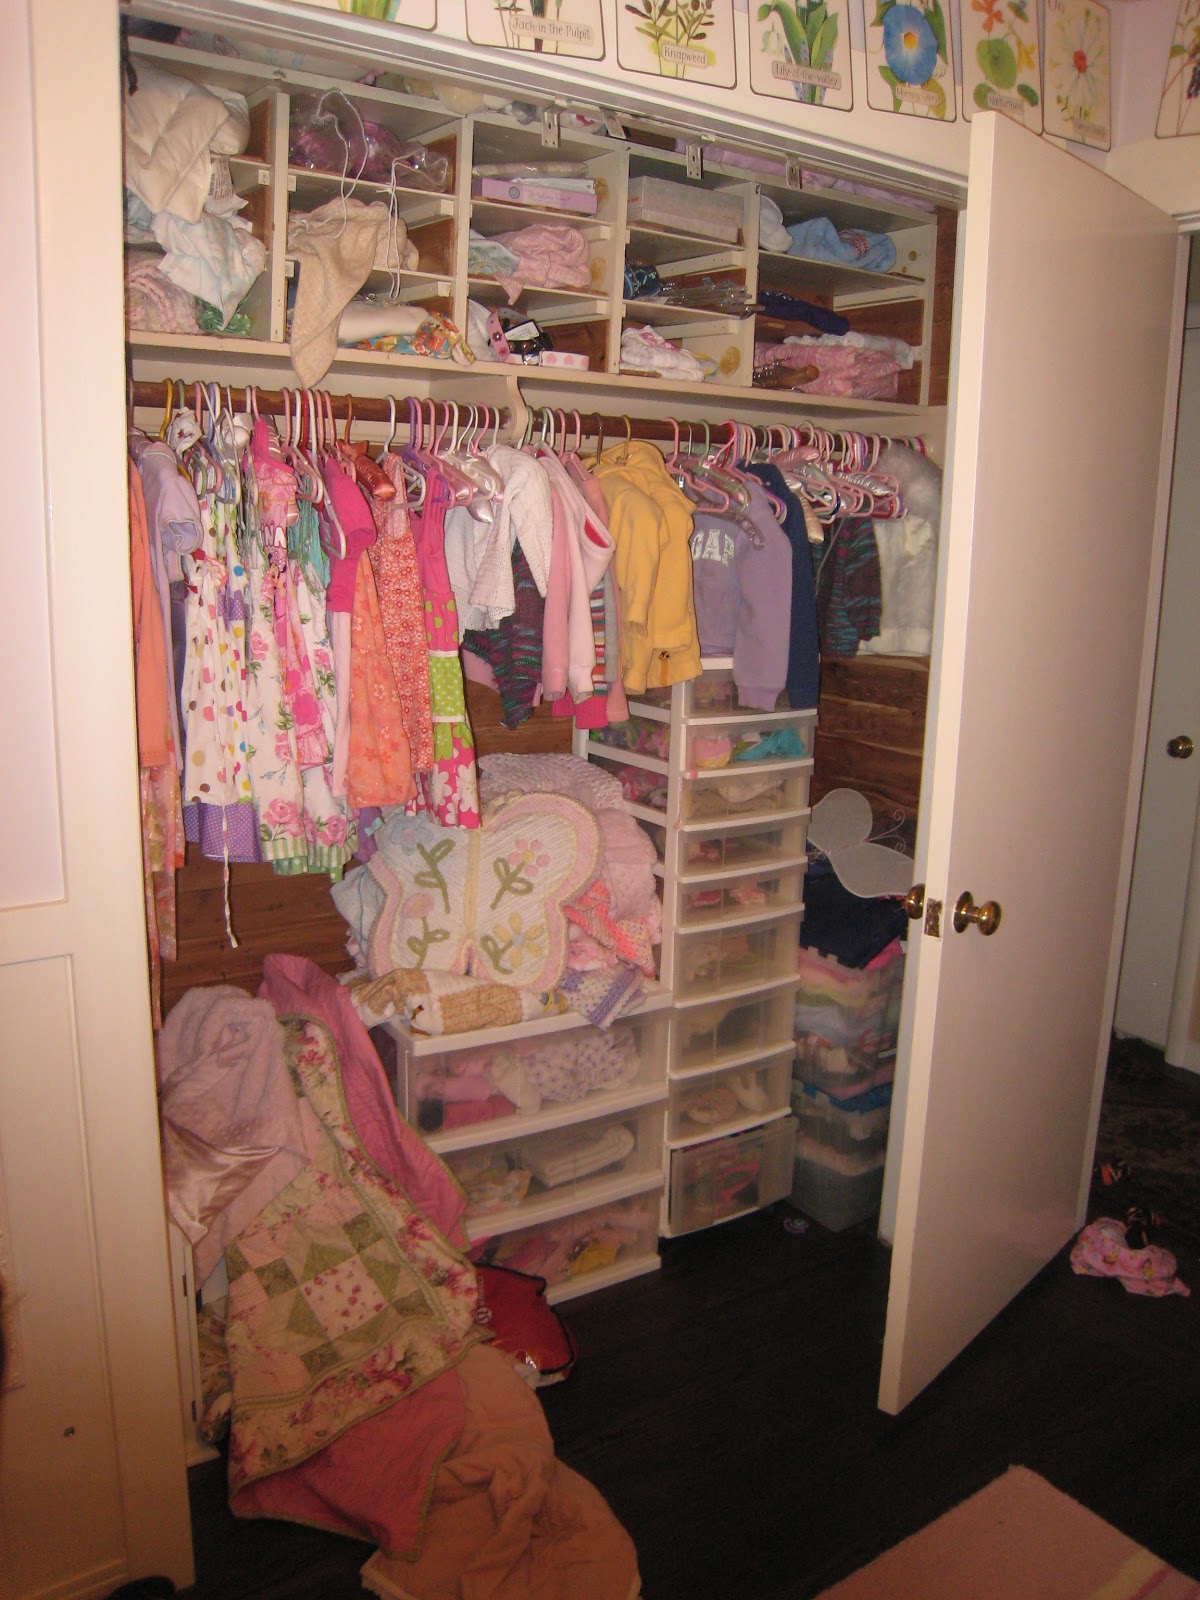
Another problem with our clothes storage is the fact that my girls cannot reach any of their hanging clothes.  This either results in them yanking a dress down, subsequently breaking the hanger...or hollering to me when they need something (which is often considering the number of outfit changes they each make per day hour).  Here's a simple fix:
Just $9.99 at The Container Store.
And finally we were ready to move the dresser in to its new home and fill -er up.
From this:
To This:
I'd say that's a big improvement.
$27 paint +6 foam roller + $10 double hanging closet rod=
$43 closet-built-for-two
It looks SO cute in their VERY GIRLY Room! See their homemade Pottery Barn bedding HERE!
 
Just a quick peek at the dresser I was trying to match.  I bought this (used) dresser, which was  refinished/painted at the store, last year for $300.  I'm super happy with my *free* version!
I'll give you a little tour of the girls' bedroom soon.  Complete with wainscoting, a chandelier and everything GIRLY!

Sweetness

And check out my boy's dresser that I refinished:
 
Linking up to the organization party at Domestically Speaking!  and also to Thrifty DĆ©cor Chick’s Before/After party!


Domestically Speaking

thriftydecorchick

Monday, November 1, 2010

Menu Monday: Roasted Pumpkin Seeds

Short little post today...been taking care of 2 sick babes the last few days, so not much time to blog. But we did manage to carve 3 pumpkins on Halloween, despite a couple of fevers...and we roasted the pumpkin seeds.
Have you ever done that?
Usually we toss all the pumpkin guts into the garbage (you see, canned pumpkin makes great pumpkin pie; so does Costco, for $5.99, can't beat that!)
But this time I decided to show my kids that pumpkins are actually more than just
jack-o-lanterns, they are food too!

Roasted Pumpkin Seeds Recipe

Separate the pumpkin seeds from the rest of the pulp as best you can (a little pulp in there just adds flavor)

Rinse the pumpkin seeds in a colander.

Lay the seeds out to dry. 
Don't dry on paper towels!


I told you this was the first time I've done this!!  Next time try using a cookie cooling rack or wax paper to dry them on.


I tossed 1 1/4 cup dry seeds with 1 TBS olive oil and then saturated with pink salt.

Spread out in a single layer (as best you can) on a cookie sheet and bake for about 40 minutes at 300 degrees. Yum!


Other things you could use instead of salt:
  • onion powder
  • garlic powder
  • green can of powdered parmesan cheese
  • Lawry's Season Salt
  • Old Bay Seasoning
  • cayenne pepper
  • Cajun seasoning
  • OH what about cinnamon, sugar and butter (instead of olive oil)
  • or better yet, what about pumpkin pie seasoning and butter?!
Ta Da!

I do have a few more pumpkins left........HUM?!
And you guys were all wondering what I'd do with it.....


Finally, I did a quick internet search for the benefits of pumpkin seeds and found many many articles on the subject. In a nut shell they include:
Prostate Protection
Improved Bladder Function
Depression Treatment
Prevention of Osteoporosis
Natural Anti-Inflammatory
Prevention of Kidney Stones
Treatment of Parasites
Great Source of Magnesium
Lower Cholesterol
Cancer Prevention

Though one other thing I read suggested that roasting them kills a lot of the valuable nutrients, best to eat them raw. Either way, they make a
healthy, yummy snack.
Now, time to go get me a
Pete's Holiday Blend Coffee!
Starbucks Christmas Blend comes out Nov. 15, gotta wait a bit longer for that one.

"May the Force Be With You"